Tutorial
Make worn metal worth a close-up
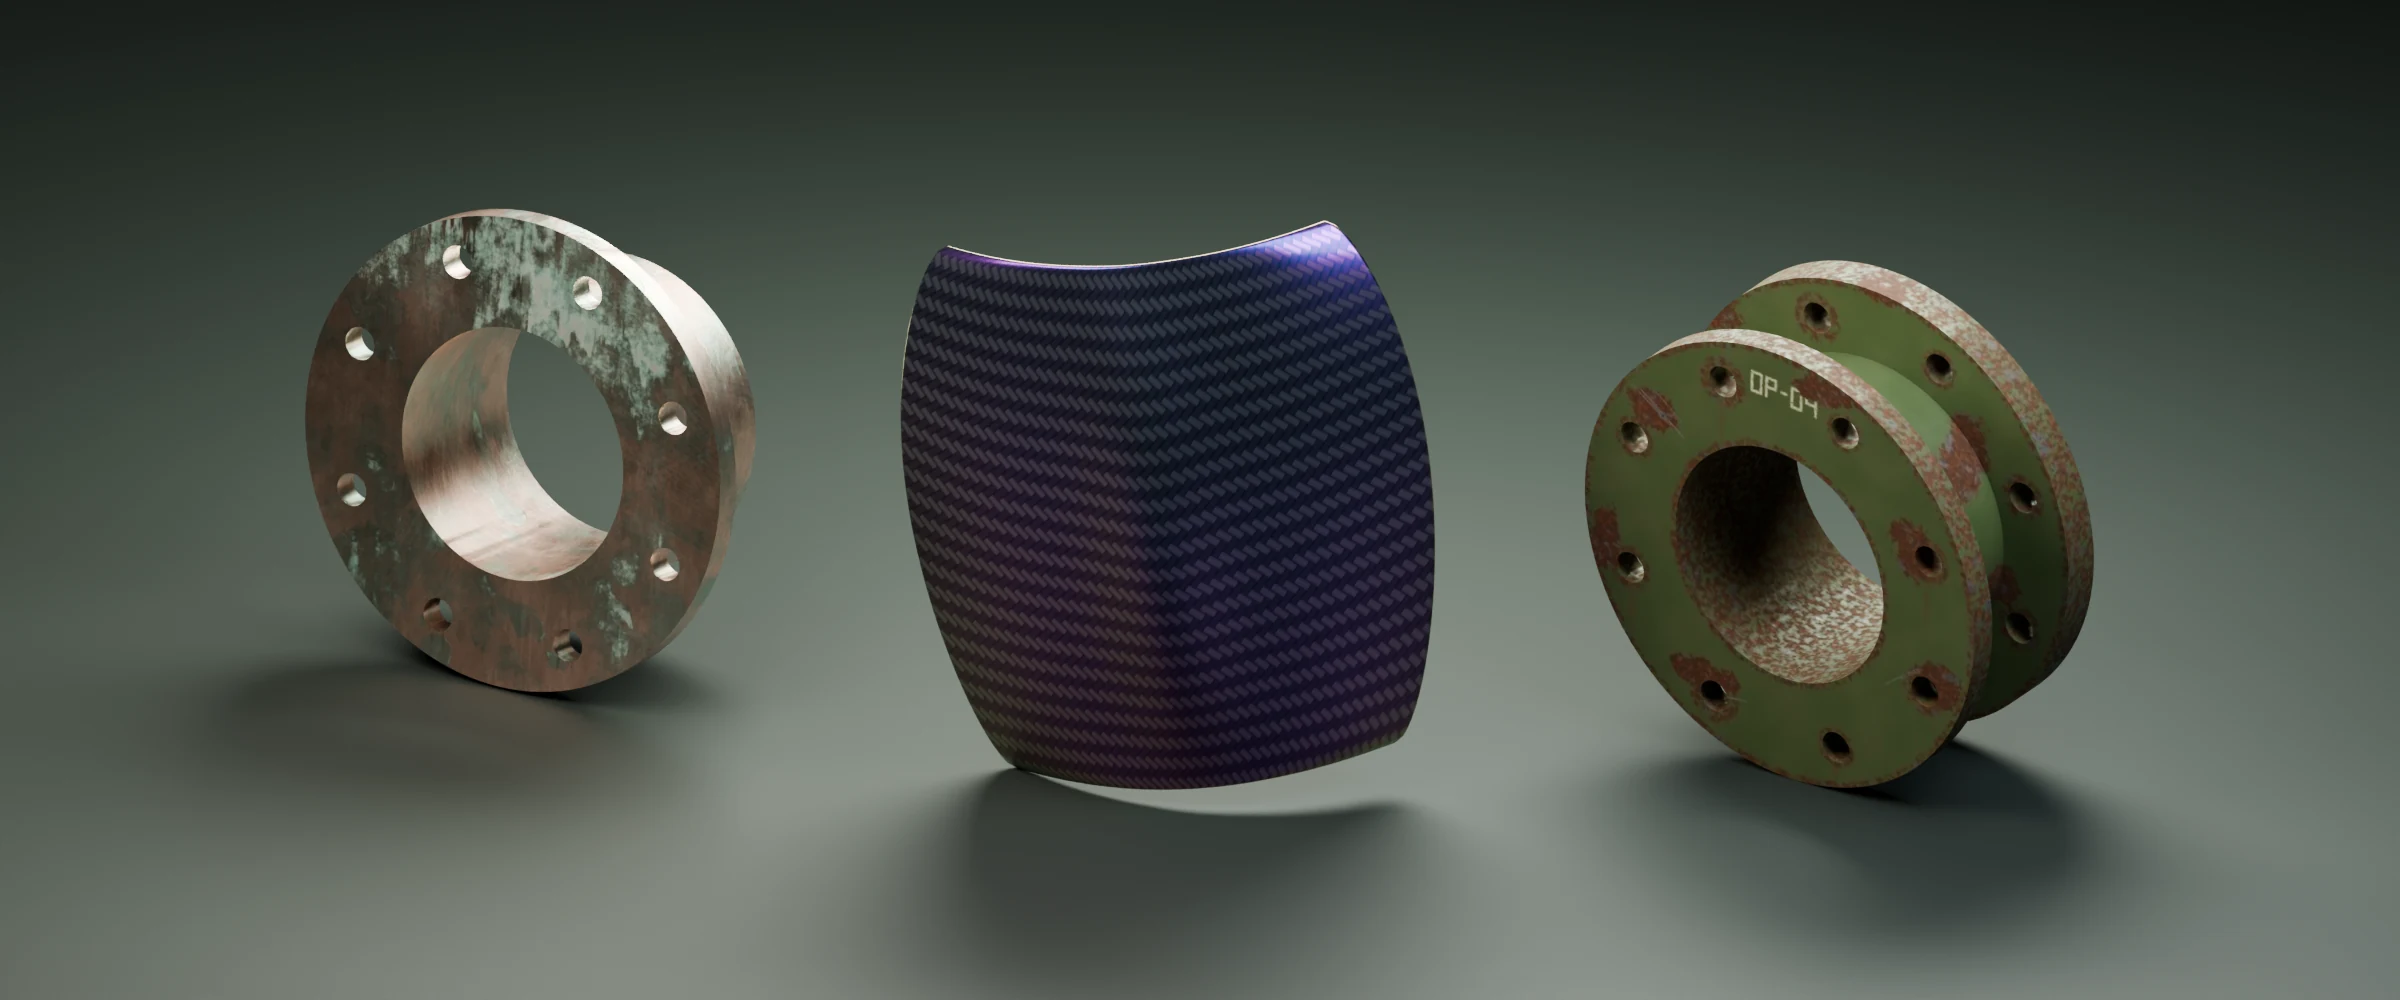
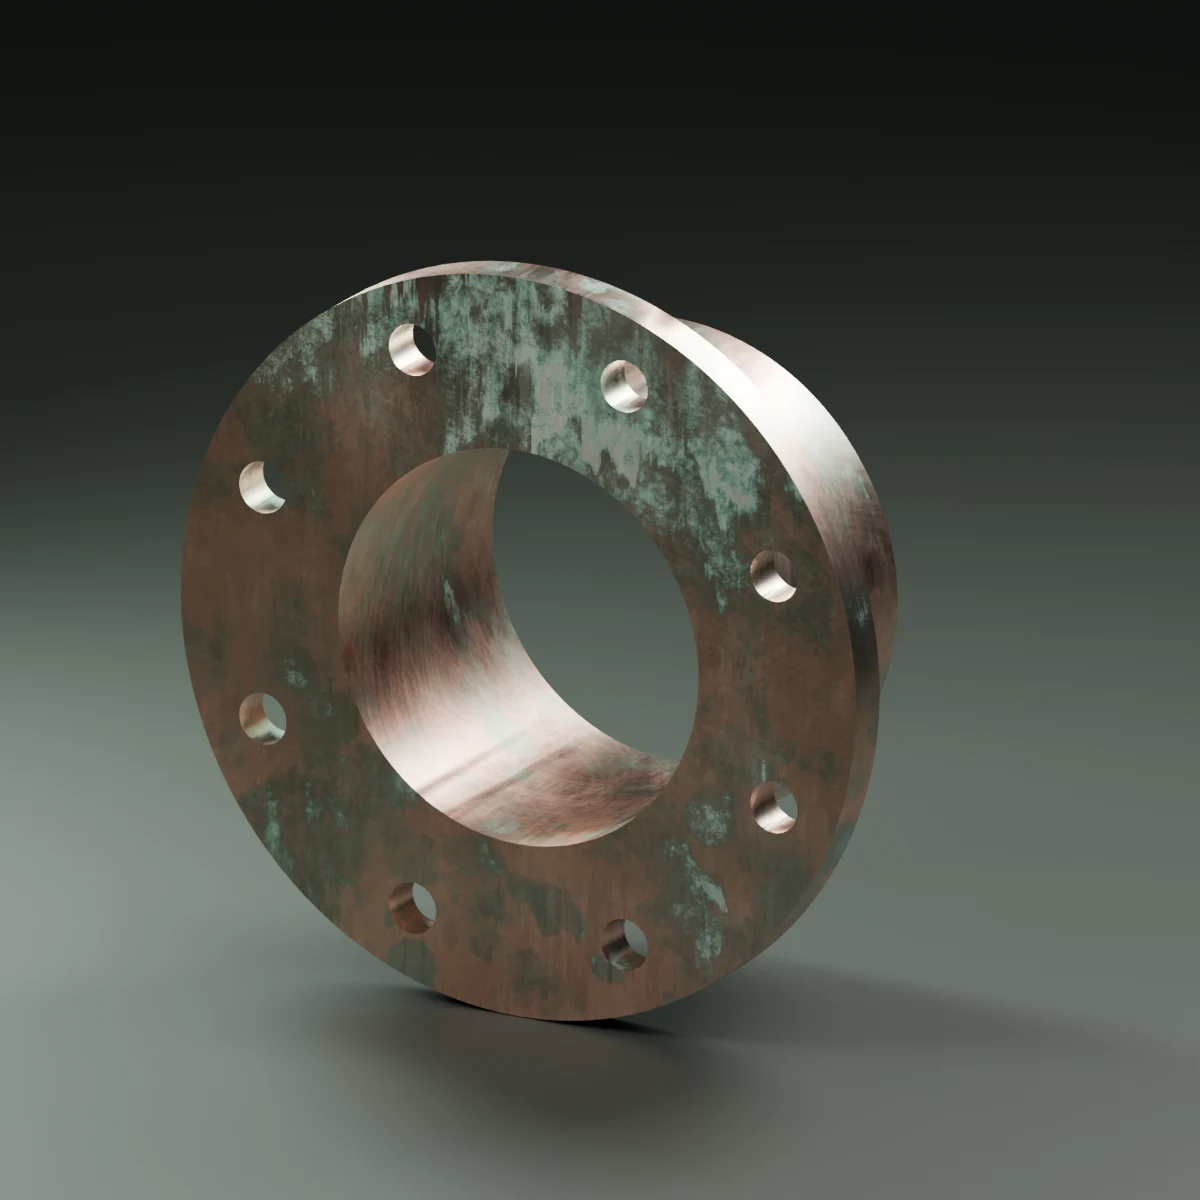
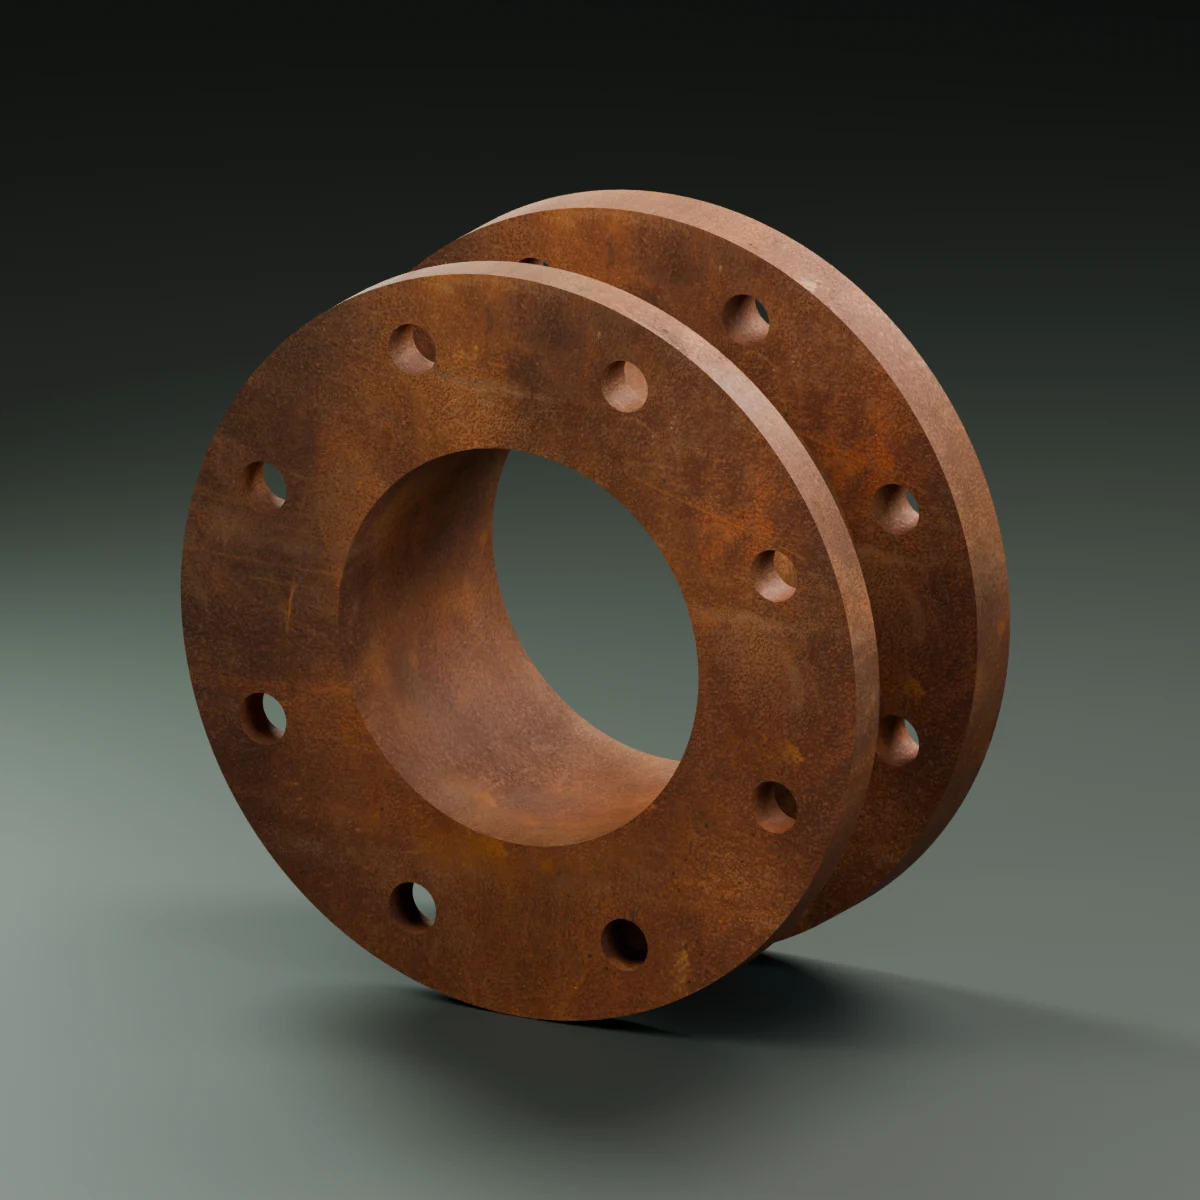
Build chipped paint, exposed steel and handling marks in Blender. Start with Open Painter’s Worn Painted Metal, then give the finish a character of its own.
In this article
Scuffed corners. A polished grip. Paint chipped around the fasteners. A convincing metal prop carries evidence of how it has been used, and the best marks help you imagine the person who left them.
Build that character directly in Blender with Open Painter. Start with Worn Painted Metal, inspect its layers and nodes, then turn the finish into something specific to your asset. For this walkthrough, imagine a steel equipment case that has spent years being carried, stacked and set down on a workshop floor.
1. Give the light something to catch
Start with a UV-unwrapped mesh and a few readable bevels. The corners of the case, the lip around the lid and the handle should catch light clearly. Set up a camera and a broad light so you can see the finish change as you work.
Install Open Painter, select the mesh and create a texture set. Use a 0–1 UV layout for this first material; 2048 is a useful starting resolution. Select the intended material slot if the object has several, then keep the camera view close enough to inspect the coating.
The object can be simple. A broad face, a few edges and a handle give you three different places to describe use. Those relationships will do more for the finish than filling every available pixel with scratches.
2. Let the material find the edges
Bake AO and Curvature, the maps required by Worn Painted Metal. In Bake Mesh Maps, disable Bake from High Poly for this simple mesh, select the two maps and run Bake Selected Maps.
Curvature gives the recipe information about the mesh’s edges; AO helps it distinguish sheltered areas. Together they let the material respond to the case’s shape. Inspect the result around the lid and corners before building on it. If you change a bevel later, update the affected maps so the wear follows the new geometry.
Working from a high-poly source instead? The baking guide covers source assignment and cages. The rest of the material workflow remains focused on the same thing: making the finish belong to the object.
3. Open the finish and make it yours
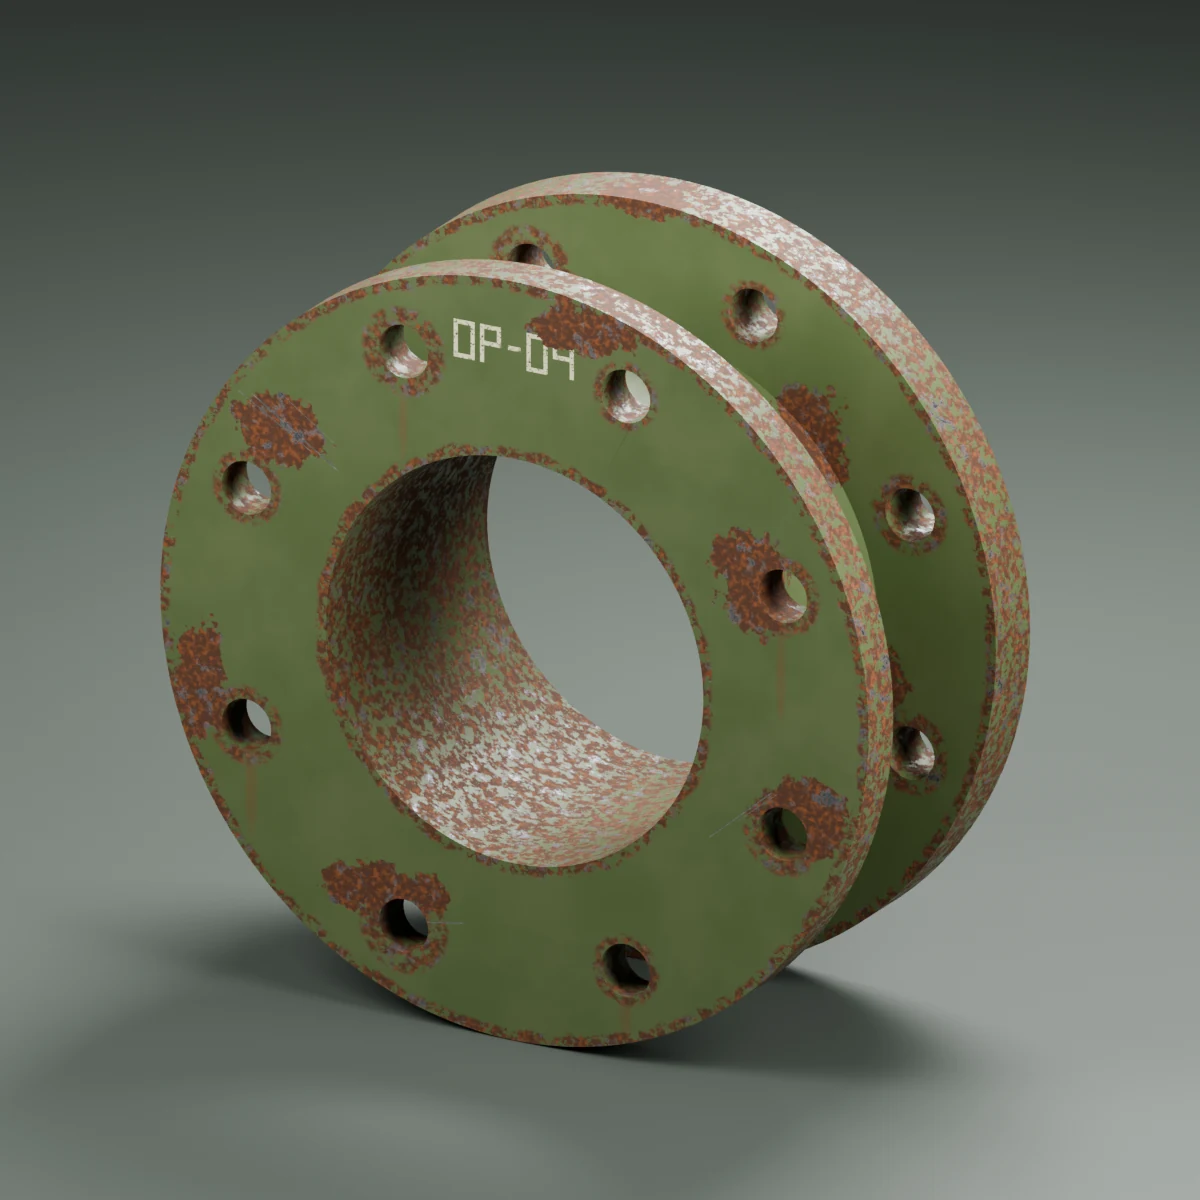
Choose Smart Materials in the Asset Shelf, select Worn Painted Metal and click Apply. Open the resulting folder. You have a material construction you can work with: a metal substrate, a painted coating and layers that shape the wear.
Set the paint color first. Try a muted workshop green, warm cream or deep blue. Then tune the coating’s roughness under your light. A dry enamel finish and a glossy painted case tell different stories before you add a single hand-painted mark.
Toggle individual layers to see their contribution. Keep the effects that help the case read and reduce the ones that compete with its shape. Open Painter’s recipe gives you a working foundation; your choices give it an identity.
Open Open Graph, the built-in node editor, to see that same construction as connected layers, masks and filters. Select the coating’s mask node, adjust its strength and watch how much metal shows through. The node and layer panel control the same finish, so you can keep painting while the material’s structure stays in view.
4. Put the strongest marks where the work happens
Give the equipment case three signatures. The lower corners get chipped from hitting the floor. The handle gets smoother from repeated contact. The area around the latch gets small, concentrated scratches. Leave enough intact paint for those marks to stand out.
Refine the coating mask to reveal the metal underneath. Use a separate paint layer for surface marks you want to revise independently. With Paint Material, one gesture can change several enabled PBR channels together: a contact mark can alter color and roughness while a scrape adds relief.
Watch the highlight as carefully as the color. Exposed steel, intact paint and dusty recesses should respond differently when you move the light. Keep corrosion rough and restrained; save brighter metal for areas that have been exposed or polished by use.
Give the wear a reason, and the prop gets a history.
5. Turn one good finish into your next starting point
Pull back to the final camera. The case should read as painted metal with a few clear signs of use. If fine scratches disappear, strengthen the broader wear pattern before increasing detail. Then save the .blend with the editable stack and packed managed images.
Save the material folder through Assets › Library as an .openpaintmaterial file. You can reuse that construction on another prop, bake its required maps and give it a different color, level of wear or handling pattern.
For a game asset, choose an engine preset in Export and review resolution, padding and packing in Output Preview. The export guide explains the maps, including the Normal output that already combines painted Height.
Now make a second version: the same case after years outdoors, or just after a repaint. Material Aging gives you construction, exposure and maintenance controls for that next chapter. Keep the original finish in your library and build a whole family from it.

Written by Open Painter
We build Open Painter so you can paint, age and finish materials in the Blender scenes you create.Give your next prop some character.
Start with an editable smart material. Add the marks, finish and history that make the asset yours.
Download Open Painter Installation guide