Workflow
Paint with layers. Build with nodes. Stay in Blender.
Build materials with a brush and a node editor in the same Blender scene. Open Painter connects layers, masks and filters while you work toward the final shot.
In this article
Paint a scratch. Open the nodes. Connect that detail to another part of the material, then judge the finish through your camera. Open Painter puts hand painting and a built-in node editor in the same Blender scene, so you can work on a surface and the logic that creates it.
A brush lets you place the mark exactly where it belongs. A node editor lets you follow its connections and change what it influences. Add Blender’s modeling tools, lighting and renderer, and the whole material workflow stays within reach.
A layer stack you can open as nodes
Open Graph is Open Painter’s built-in node editor. Layers, masks and channel filters appear as connected nodes. You can add effects, adjust their controls, connect anchors and change the order of supported chains. The graph and layer panel edit the same material and stay in sync.
Picture a painted panel with shared surface damage. Publish a mask’s coverage and use it in another layer. Follow the connection to see what drives the result. As the material grows, you have a visible map of its relationships and a direct way to edit them.
For a mask that needs its own procedural logic, use a Custom Graph. Build its shader node group in Blender’s Shader Editor and feed the output into the mask. Noise, ramps and combinations of patterns become part of the finish you are painting.
Your brush and your node editor belong beside the same material.
Make the material with the whole image in view
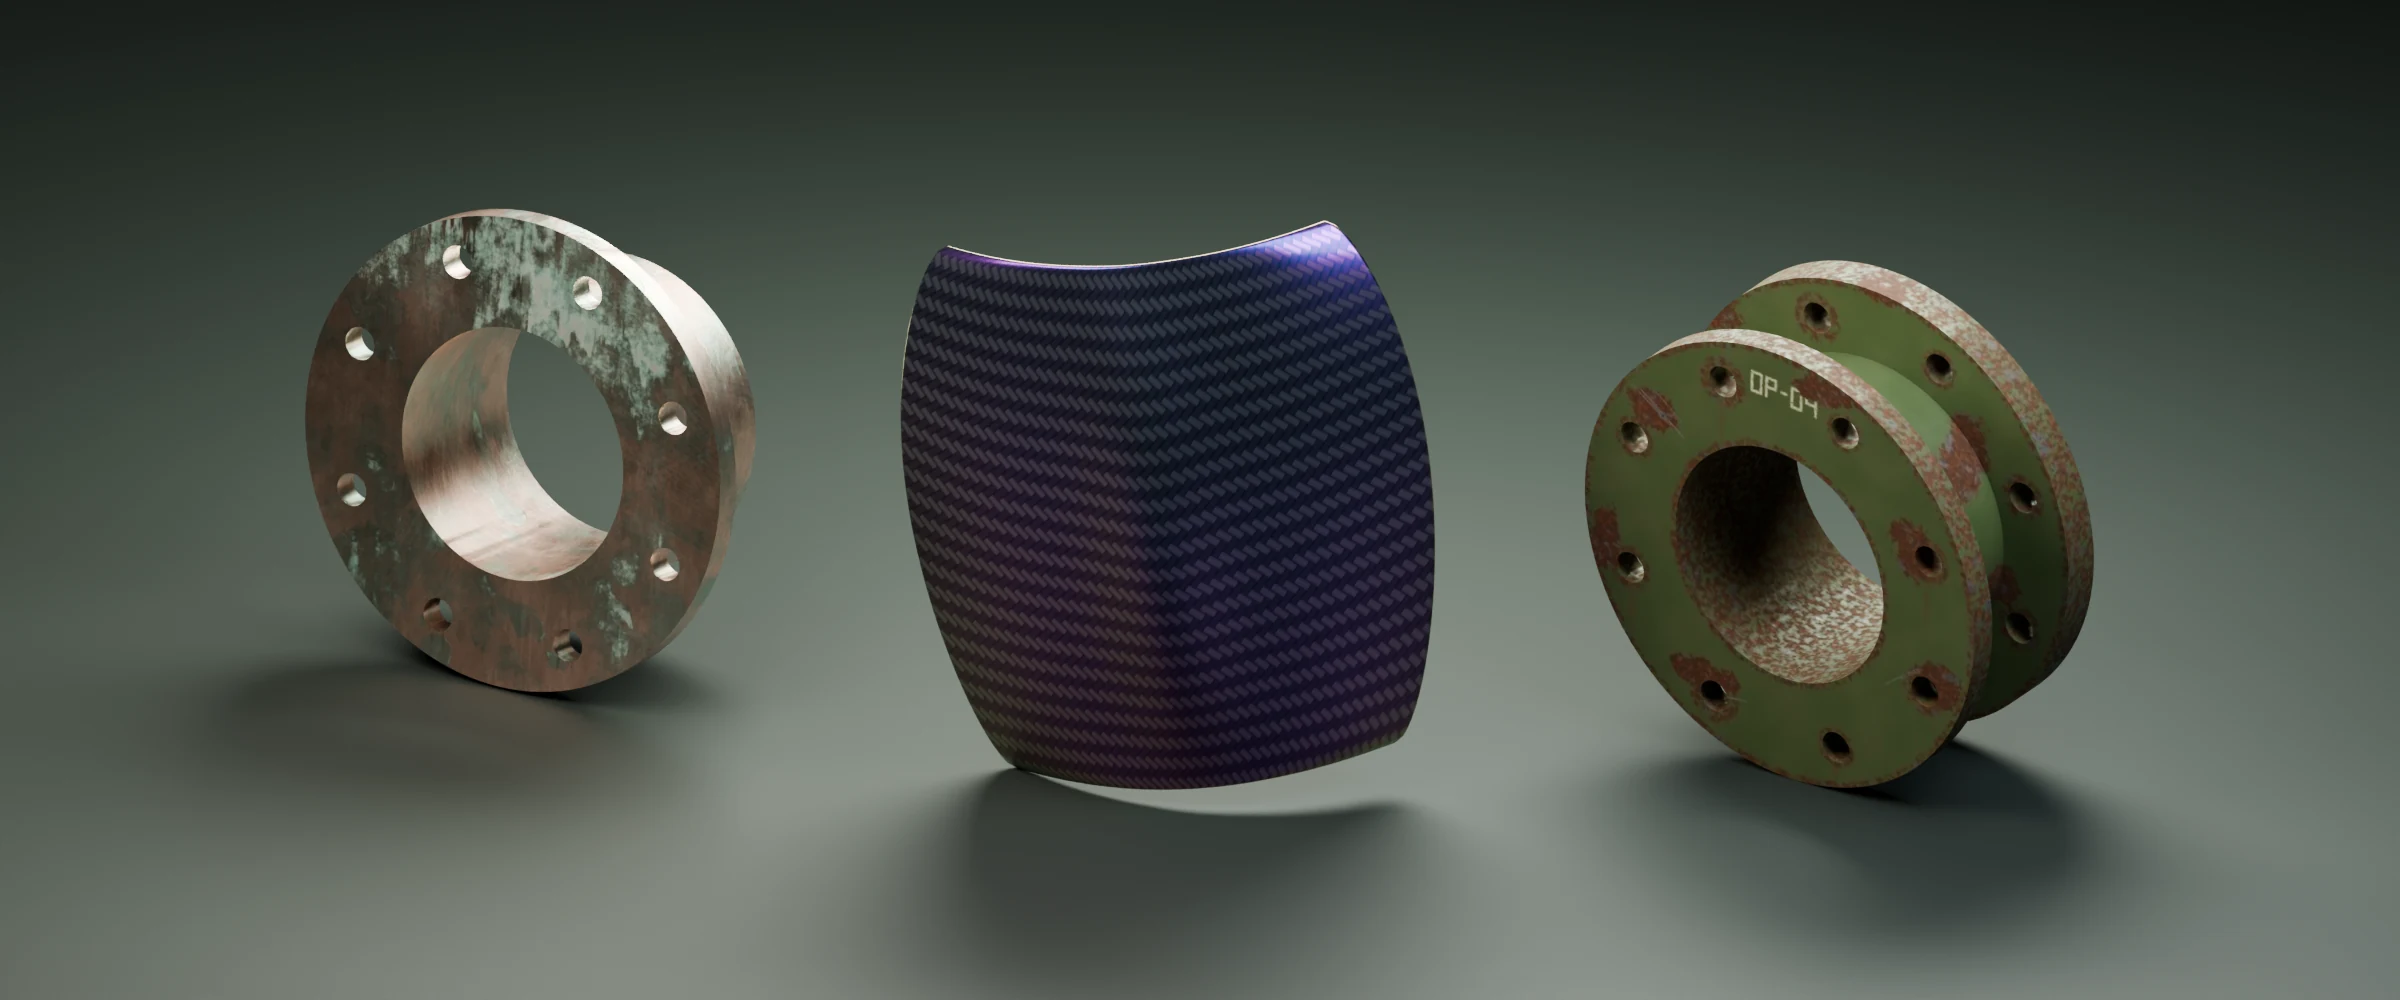
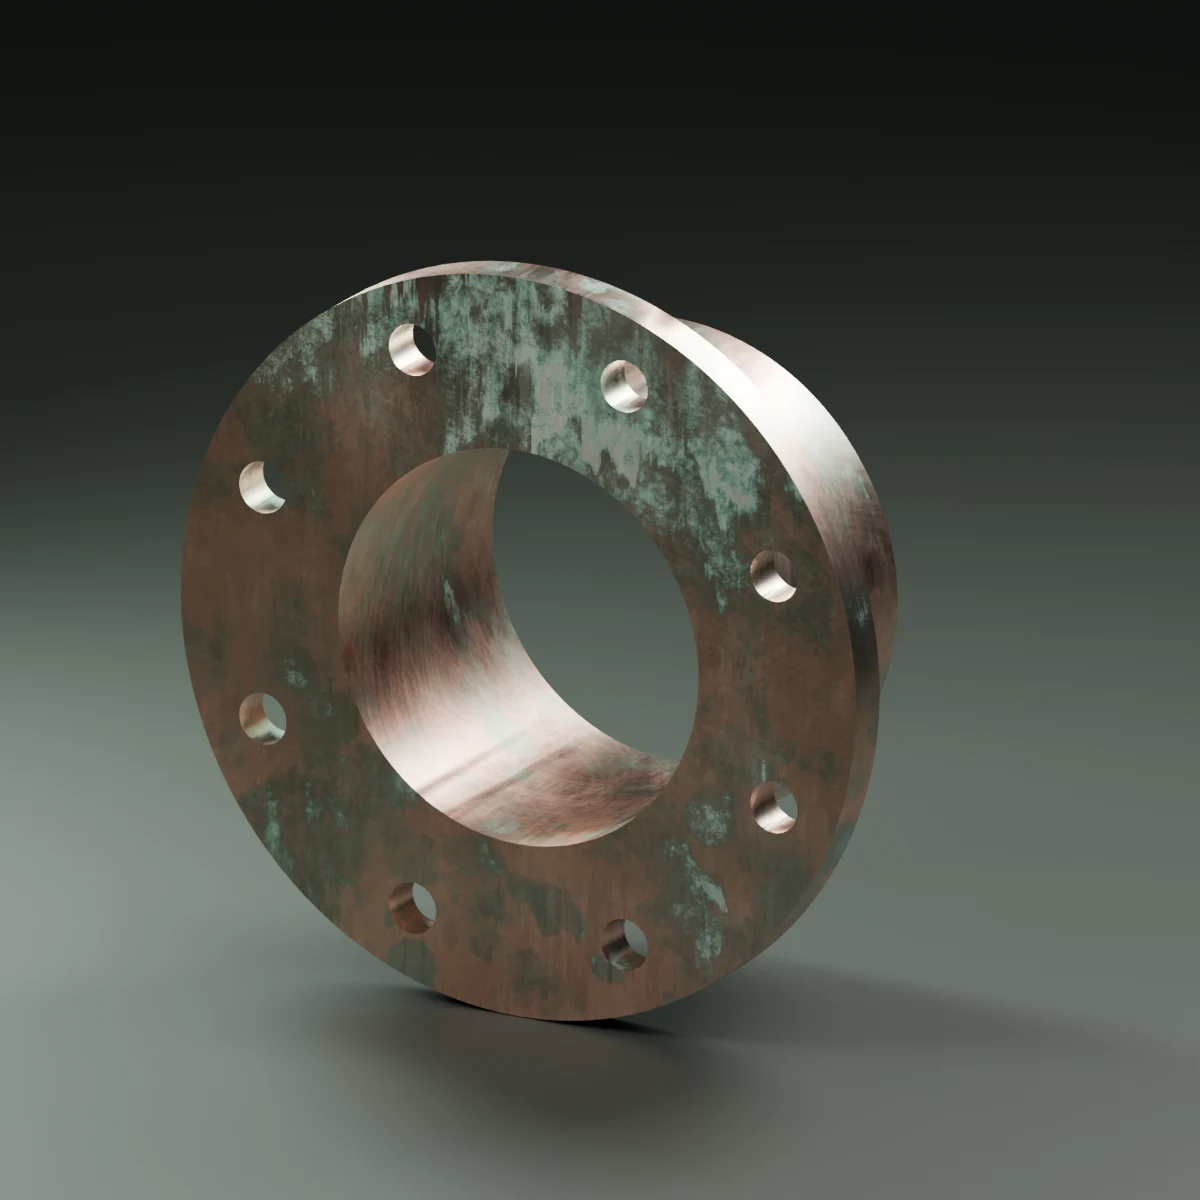
A copper fixture in a warm interior needs a different balance from the same fixture under a cold studio light. The patina might need more contrast. The polished areas might need less. You can discover that while you are authoring the material, with the walls, camera and lighting already around it.
Keep a camera view next to Painter. Change the finish, rotate the object, adjust a light. When a mark matters only in the close-up, give it the attention that shot deserves. When the silhouette does the work, spend your time on the shape. Every decision can serve the image you intend to deliver.
Texture with the final shot in sight.
Turn feedback into a few useful edits
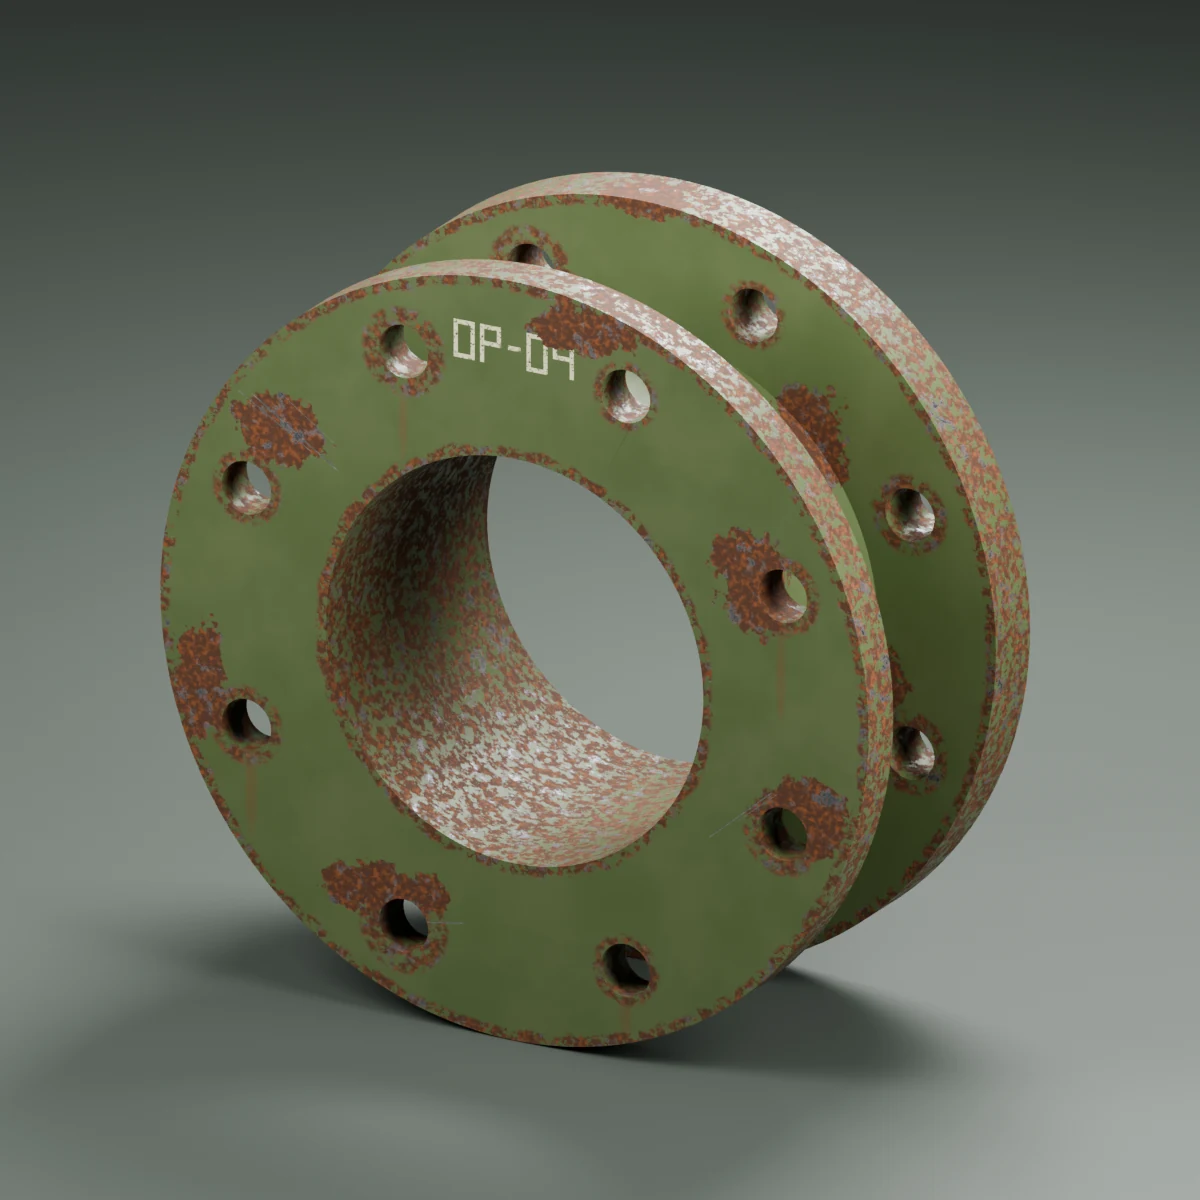
“Older, but still cared for.” It is the kind of note that can make you stare at a finished texture and wonder where to begin. An editable construction gives you somewhere to go: keep the faded paint, reduce the dirt, polish the contact areas, and preserve the exposed metal around the fasteners.
Open Painter’s smart materials arrive as folders of layers and masks. You can inspect how a finish is built in the panel or Open Graph, change the part that matters, and add your own work above it. The 50 bundled materials give you a library of constructions to start from and take apart.
Hand painting fits the same approach. A Paint Material stroke can carry color, roughness, metallic and height together. Put handling marks on a dedicated layer, tune their contribution, and keep the underlying finish available for the next revision. The layer stack becomes a record of deliberate choices.
Let a worn surface become real geometry
Some details earn their place in the mesh. A lifted paint flake can catch a rim light. Moss can break a clean outline. A row of placed bolts can turn a plain panel into an assembled object. Open Painter’s geometry effects can use material coverage to place those details in Blender.
The same authored regions that describe a damaged coating can guide where pieces appear. You can bring your own meshes, adjust density and scale, then inspect the result from the shot. It is a direct connection between the surface design and the object’s physical shape.
For broader placement, scene fields and selectors give you ways to shape effects around the surrounding scene. Baked maps still need updating after relevant geometry changes; live inputs provide another route where supported. Both sit beside the mesh and material they describe.
Build a library out of the work you like
Finish one good painted-steel material and you have the beginning of a family: workshop machinery, shipping containers, a tool cabinet, a service hatch. Save the material folder to your local library, apply it to another asset, bake the required maps there, and change its color and wear to suit the new object.
Open Painter’s .openpaintmaterial format carries editable settings and bundled image inputs. The .blend keeps the scene’s project state, custom shader groups and packed managed images. To include a Custom Graph mask in a portable material file, bake its mask stack to a texture first; keep the Blender scene for future edits to that shader network.
Core texturing works offline without an account. Painting, bundled materials, aging, baking and export are available in the local workflow. Connect is there when you want account-connected pack libraries; it is an optional addition to the painter.
Stay in Blender through the finish
For a Blender render, keep developing the material in the scene. For a game asset, use the export presets for Blender, Unreal, Unity or Godot, with control over resolution, padding and channel packing. You choose the delivery point when the material is ready.
Start with a prop you can see clearly in your camera. Give it a finish from the library, open the graph and follow one connection. Add a mark that belongs to that object. Adjust the light while the material stays open. The brush, nodes and final shot are all part of the same creative workspace.

Written by Open Painter
We build Open Painter so you can paint, age and finish materials in the Blender scenes you create.Put a node editor beside your brush.
Paint, connect and refine the same material. Get Open Painter and build your next finish in Blender.
Get Open Painter for Blender Installation guide